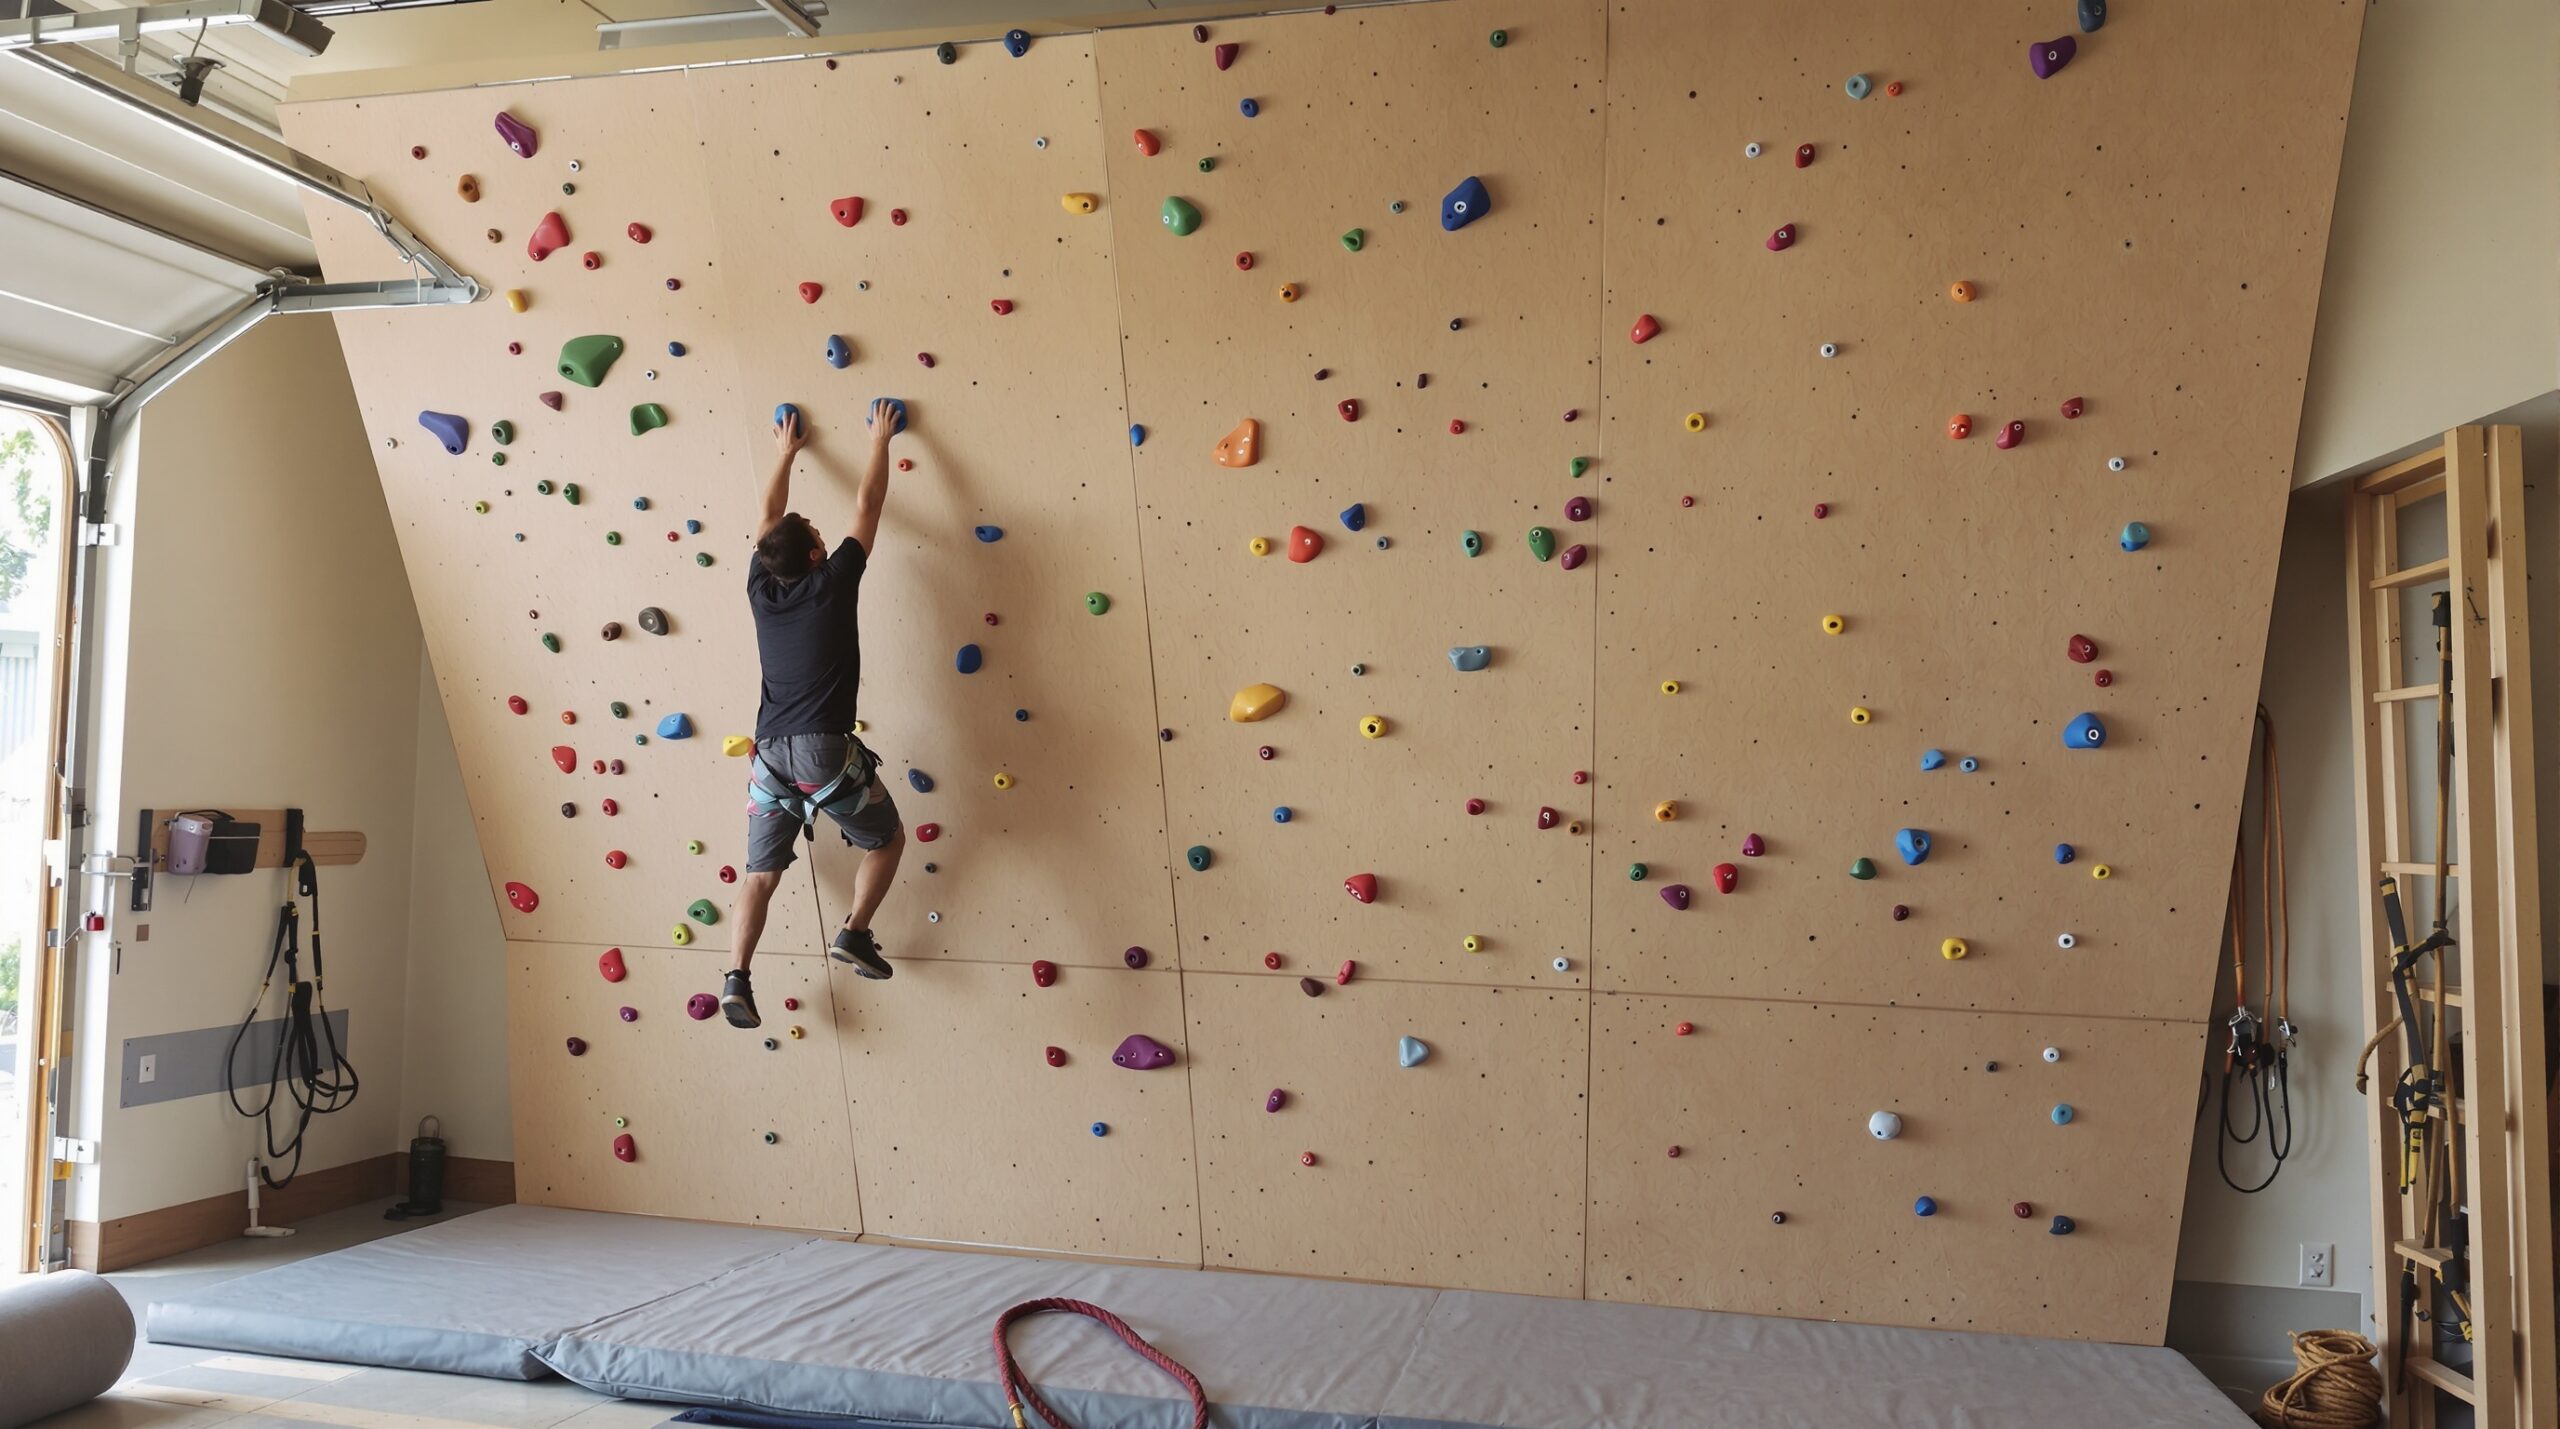
Why a Climbing Wall Could Be the Best Decision You Make This Year
Imagine a place at home where every visit gets you fitter, braver, and more creative. A climbing wall does that. Whether you want a compact bouldering panel in a garage, a training board in a spare room, or a full-height top rope wall in a basement, a climbing wall is more than wood and holds. It is a tool for skill, strength, and confidence.
This guide walks you through types of climbing walls, the real benefits, how to plan and build one safely, routesetting basics, training progressions for beginners, and maintenance tips you rarely find in one place.
Quick overview: types of climbing walls
- Bouldering wall: Shorter, no rope, padded landing, focuses on power and technique. Walls usually up to 4.5 meters or less.
- Top-rope wall: Taller, ropes and anchors used, good for endurance and height practice.
- Lead wall: For advanced setups with clip-in points and certified anchors.
- Training boards: Hangboards, campus boards and moonboards for specific finger and pull strength work.
Pick the type that matches your goals, space, and risk tolerance.
Benefits you will notice fast
- Physical: improved grip strength, core stability, mobility, and full-body coordination.
- Mental: problem solving, fear management, focus, and flow state experiences.
- Social: community, friendly competition, and partner coaching if you add belaying.
- Time efficient: climbing packs cardio, strength and mobility into short sessions.
Planning your wall: what to decide first
- Purpose: bouldering, top rope, or training board.
- Space: measure ceiling height, available floor footprint, and access paths.
- Budget: basic home bouldering setups start low, full builds and professional anchors cost more.
- Safety plan: fall zone, padding, anchors, ropes, harnesses, and who will teach you to belay.
Pro tip: start small and expand. A 2.4 x 2.4 m bouldering panel buys a lot of training variety with low cost.
Materials and basic build guidelines
- Framing: 2×6 or 2×8 lumber for studs and backing depending on spans and angles.
- Surface: 12 mm to 18 mm exterior-grade plywood panels depending on load; 18 mm recommended for heavy use.
- T-nuts: 3/8″ or 10 mm T-nuts spaced on a 15 cm grid or 6 x 6 inch pattern for flexibility.
- Bolts and hardware: climbing hold bolts (typically 3/8″ x 30 mm or 40 mm), washers, and locking nuts.
- Holds: starter set with a mix of jugs, edges, pinches and slopers. Color code sets by route if desired.
- Padding: thick gym crash pads or custom foam layers meeting fall height needs. 20 to 30 cm foam is common for home walls.
Angles and panels:
– Vertical panel: best for endurance and beginners.
– Slight overhang (10-20 degrees): adds challenge while staying manageable.
– Steep overhangs and roofs require taller pads and advanced spotting techniques.
Installation notes:
– Use dedicated studs or a strong framed backing. Avoid screwing directly into drywall.
– Pre-drill holes for T-nuts and ensure they seat flush on the back of the plywood.
– Reinforce high-load sections where big dynamic moves will land.
Safety essentials
- Padding: cover the entire fall zone with interconnected pads; no bare floor under common fall paths.
- Spotting: learn proper spotting techniques for bouldering with a partner.
- Anchors and rope systems: if building a top-rope wall, install certified anchors and get an anchor engineer or experienced rigger to inspect the setup.
- Belay training: take a certified course. Poor belaying is a leading cause of serious accidents.
- Regular inspections: check T-nuts, bolts, anchor hardware and holds before every session.
- Local codes: follow local building codes and insurance recommendations for permanent, high walls.
When in doubt, hire a pro for anchor installs and structural checks.
Routesetting basics for beginners
- Start simple: route difficulty is about sequencing, not handhold size. Place big holds and teach movement.
- Use color coding or tape to mark problems clearly.
- Set lines that force a variety of moves: balance, reach, heel hooks and small crimps.
- Progression: create easy routes first, then add one harder move to challenge a specific skill.
Routeset like a coach: think about body positions and how each hold demands either pulling, pushing, or foot precision.
A 4-week beginner training microcycle
Week 1: Technique and volume
– 3 sessions: focus on easy routes, footwork drills, and downclimbing. Keep sessions short.
Week 2: Strength introduction
– 2 technique sessions, 1 strength session. Add 2-3 sets of dead hangs from large holds; keep hangs short and pain-free.
Week 3: Power and movement
– Include short boulder problems that require dynamic moves and core tension. Start adding small campus-style moves only if ready.
Week 4: Consolidation and rest
– Reduce intensity, climb fun projects at lower intensity, and focus on mobility and recovery.
Always warm up 10-15 minutes and never train finger-intensive exercises without a base of climbing volume.
Maintenance and long-term care
- Tighten bolts and check T-nuts monthly.
- Clean holds occasionally with a soft brush and mild soap; chalk buildup reduces friction.
- Replace worn or cracked holds immediately.
- Repaint or refinish plywood every few years if used heavily to prevent delamination.
Common questions answered
Q: How much space do I need for a bouldering wall?
A: Useful minimal footprint is about 2.4 x 2.4 m with at least 2.4 m height, but you can scale down to 2 x 2 m for a training panel.
Q: Can I build one by myself?
A: Yes for small panels, but for tall walls, overhangs, or anchors, get help from a builder or rigger.
Q: Do I need professional anchors for a top-rope wall?
A: Yes. Anchors must be rated and inspected by someone experienced or certified.
Final thoughts: start small, iterate fast
A climbing wall is a living project. Start with a modest bouldering panel or training board, learn routesetting and safety, and expand as your skills and budget grow. The most important step is to climb consistently, listen to your body, and join the community for tips and motivation.
If you want, tell me your available space and budget and I can sketch a simple build plan and parts list tailored to you.